How to Password Protect Your WordPress Site with HTTP Authentication

How to Password Protect Your WordPress Site with HTTP Authentication
Implementing a password on your WordPress site can prevent unauthorized access and protect your site from being copied by others. Password Protecting can be especially useful when you are developing a site. In this article, we’ll be discussing Password Protecting in more detail, so bear with me till the end. ?
What is HTTP Authentication?
HTTP Authentication adds a username and password prompt to your website. Visitors must enter valid credentials before accessing any page on the site. This type of authentication works at the web server level, offering an extra layer of protection beyond WordPress’s regular login screen.
Think of it as a gatekeeper that asks for your identity card even before users see your website.

Why Password Protect Your WordPress Site?
Here are some key reasons why you might password protect your WordPress site:
- Private Content: To limit access to sensitive or confidential information, such as internal documents or client data.
- Team Collaboration: To share a work-in-progress site with specific teammates or clients while keeping it hidden from the public.
- Membership-Only Access: To allow only paying members or exclusive users to view certain parts of the site.
- Event Registration or RSVP Pages: To restrict access to special event details only to invited guests.
- Testing and Development: To prevent unfinished websites or experimental features from being viewed by outsiders.
- Educational or Training Materials: To protect resources like eBooks, guides, or videos meant for selected learners or employees.
- These reasons emphasize control, privacy, and exclusivity, ensuring the right audience accesses your content.
Did You Know? – You can also hide your wp-admin URL here’s how to do it.
How to Implement HTTP Authentication on Your WordPress Site
Here are three main ways to set it up:
-
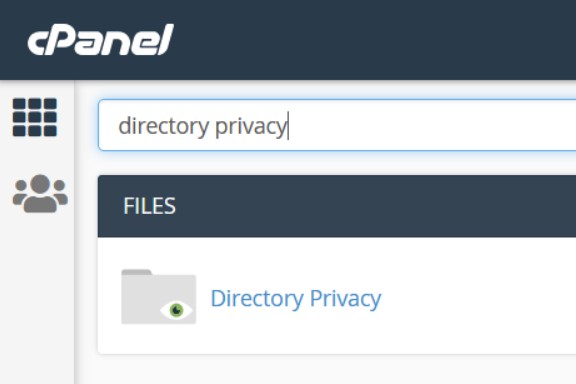
Using cPanel (Manual Setup):
- Log into your hosting account’s cPanel.
- Find the Directory Privacy or Password Protect Directories option.
- Select the folder where your WordPress site is installed (usually “public_html”).
- Add a username and password to protect that folder.
- Now, whenever someone tries to access your site, they’ll need to enter the credentials.
-
Using the .htaccess File:
- Create a .htpasswd File:
- Use a tool like htpasswd generator to create encrypted username and password combinations.
- Save the output in a file named .htpasswd.
- Upload this file to a secure directory outside your public web directory (e.g., /home/user/.htpasswd).
- Edit Your .htaccess File:
- Add the following lines to your .htaccess file in the root directory of your WordPress site:
AuthType Basic
AuthName “Restricted Access”
AuthUserFile /full/path/to/.htpasswd
Require valid-user
- Replace /full/path/to/.htpasswd with the full path to your .htpasswd file and save your .htaccess file
-
Using a wordpress plugin:
Enabling HTTP Authentication with a plugin is the easiest way to add extra security to your WordPress site. Here’s how you can do it:
This plugin is designed specifically for HTTP Auth. Here’s how to set it up:
- Go to your WordPress dashboard and navigate to Plugins > Add New.
- Search for “WP Basic Authentication” in the search bar.
- Install and activate the plugin.
- Once activated, the plugin automatically enables HTTP Auth on your site.
- To customize or disable it, visit the plugin settings in your WordPress dashboard.
- Now, anyone accessing your website will need to enter a username and password.
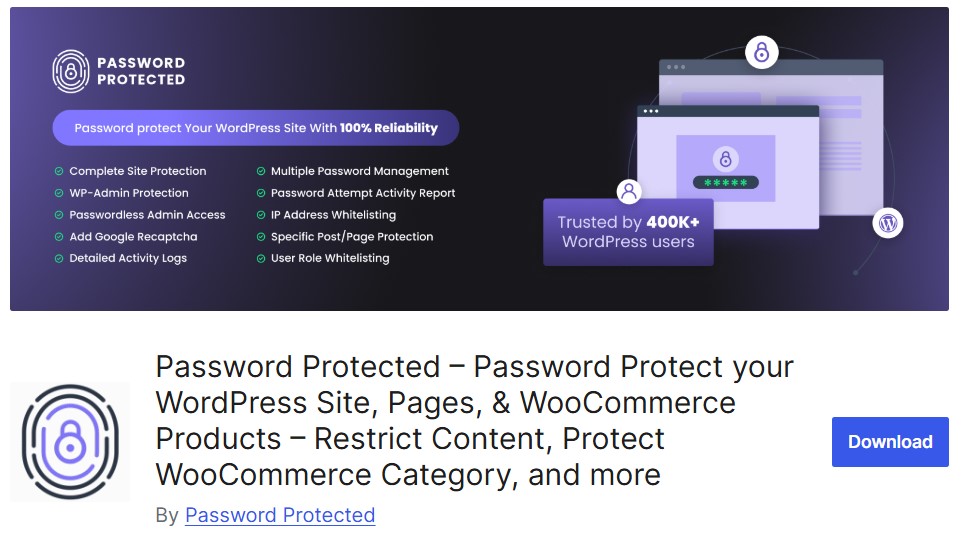
This plugin protects your site by adding a password prompt before loading content.
- From the WordPress dashboard, go to Plugins > Add New.
- Search for “Password Protected” and click Install Now, then Activate.
- Go to Settings > Password Protected to configure the plugin.
- Enable password protection by checking the “Password Protected Status” box.
- Set a password and save changes.
- With this plugin, your whole website will require a password to access, even before reaching the login page.
Conclusion:
HTTP Authentication is a straightforward and reliable way to enhance the security of your WordPress site. By requiring users to log in before accessing your site, you can safeguard sensitive information, restrict access, and keep your work-in-progress private.
With the steps outlined above, you can easily password-protect your WordPress site and enjoy peace of mind knowing it’s secured.
For more WordPress security tips, stay tuned to our blog.